 |
Matronics Email Lists
Web Forum Interface to the Matronics Email Lists
|
| View previous topic :: View next topic |
| Author |
Message |
flyingphil2
Joined: 04 Dec 2009
Posts: 117
|
 Posted: Sun Jan 17, 2010 7:39 am Post subject: Shoot bolts Posted: Sun Jan 17, 2010 7:39 am Post subject: Shoot bolts |
 |
|
Hi,

To those that have gone before me .......

I'm working on the door latches and getting the shoot bolts (DL06) installed inside the DL07 guides.  Taking previous advice I'm looking at the dimensions in the manual and what I actually have in front of me.


 I haven't glued the guides in yet but a dry set up shows that my worst case is on the front door bolts and at worst with the doors latched, I have 10mm of the parallel section (20mm total) of the DL06  protruding.  Is that going to be enough?  I remember reading about this on the forum ages ago but I can't find the posting in question.


Regards,


Phil
| | - The Matronics Europa-List Email Forum - | | | Use the List Feature Navigator to browse the many List utilities available such as the Email Subscriptions page, Archive Search & Download, 7-Day Browse, Chat, FAQ, Photoshare, and much more:
http://www.matronics.com/Navigator?Europa-List |
|
|
|
| Back to top |
|
 |
jrgowing(at)bigpond.net.a
Guest
|
| Posted: Mon Jan 18, 2010 2:57 am Post subject: Shoot bolts |
|
|
Phil

There were a few modifications to the mechanisms driving th e shoot bolts

Maybe you should mention your kit number and date of purchase.

JR (Bob)Gowing UK kit 327


do not archive

---
| | - The Matronics Europa-List Email Forum - | | | Use the List Feature Navigator to browse the many List utilities available such as the Email Subscriptions page, Archive Search & Download, 7-Day Browse, Chat, FAQ, Photoshare, and much more:
http://www.matronics.com/Navigator?Europa-List |
|
|
|
| Back to top |
|
|
flyingphil2
Joined: 04 Dec 2009
Posts: 117
|
| Posted: Mon Jan 18, 2010 3:12 am Post subject: Re: Shoot bolts |
|
|
Hi,


My kit has an XS fuselage but I have all the parts to make it up to the current production spec (ie flat bar etc) and also have been fitting the cockpit width mod.  Regardless of all that, I guess the length of protrusion of the shoot bolts would remain the same across all aircraft.  I guess my question is 'what is safe' as I know several doors have been lost in the past due to the bolts not closing securely.


Regards,


Phil
| | - The Matronics Europa-List Email Forum - | | | Use the List Feature Navigator to browse the many List utilities available such as the Email Subscriptions page, Archive Search & Download, 7-Day Browse, Chat, FAQ, Photoshare, and much more:
http://www.matronics.com/Navigator?Europa-List |
|
|
|
| Back to top |
|
|
grahamsingleton(at)btinte
Guest
|
| Posted: Mon Jan 18, 2010 3:26 am Post subject: Shoot bolts |
|
|
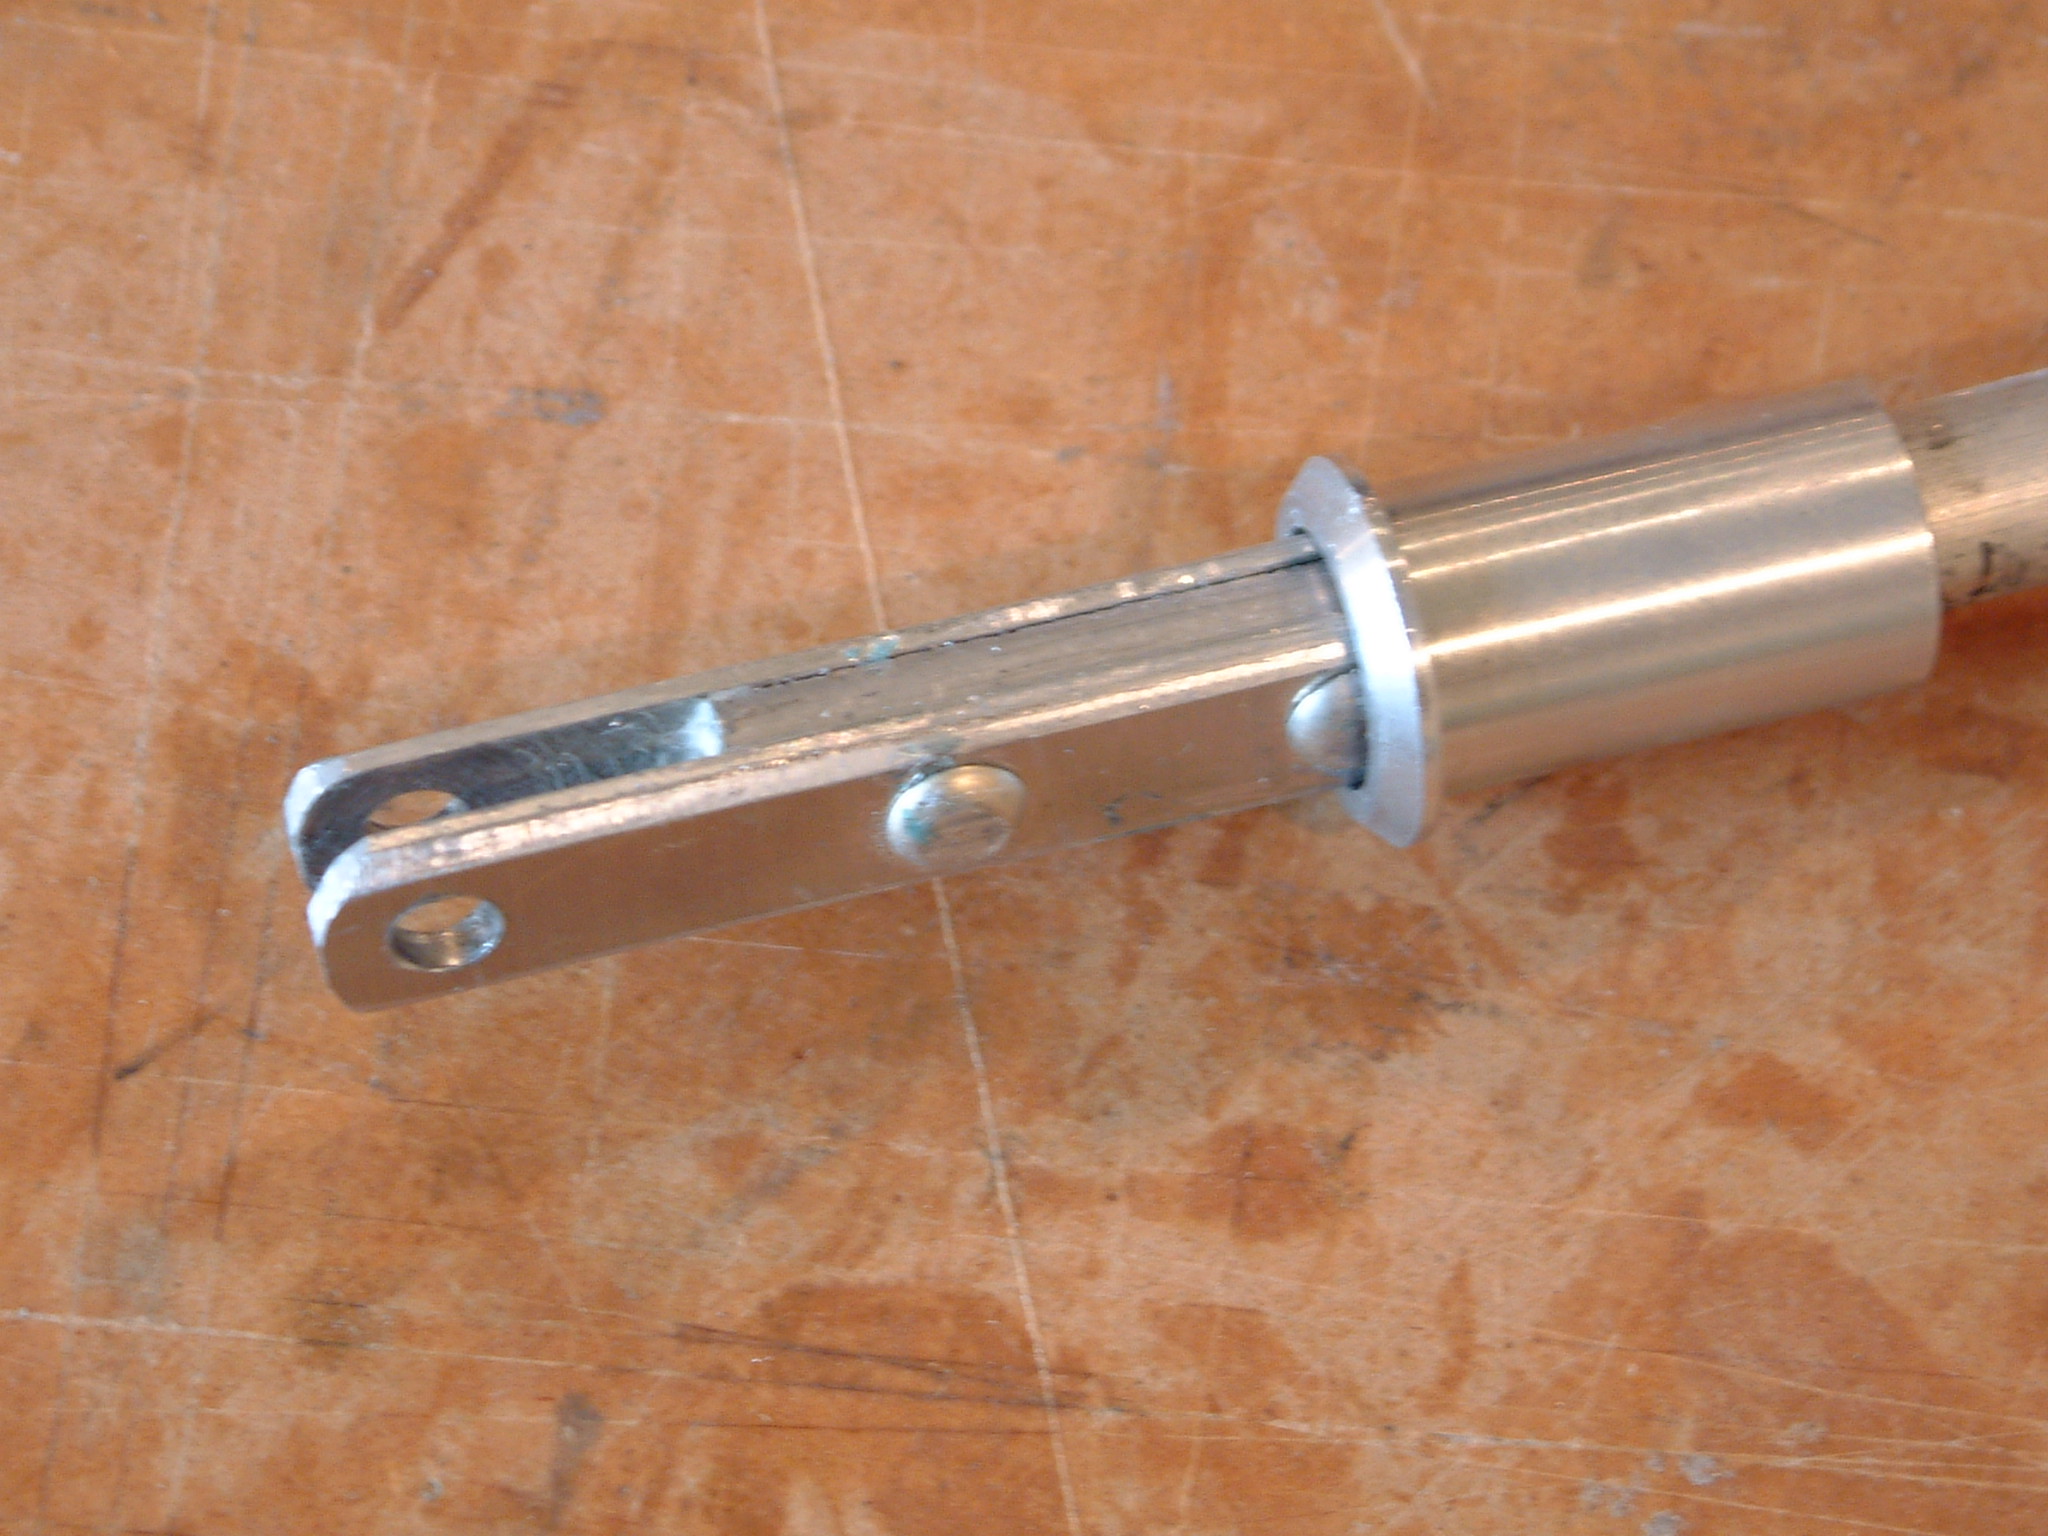
Phil

also worth a serious look at Paul McAllister's shoot bolts but I

wouldn't do the third bolt, it weakens the bottom rail / sill too much,

go with a simple  latch.that uses the flexibility of the door to latch.

Get a second set of bushes and put those into the fuselage door frame

Graham


On 18/01/2010 10:55, JR Gowing wrote:

[quote]


 Phil

 There were a few modifications to the mechanisms driving th e shoot bolts

 Maybe you should mention your kit number and date of purchase.

 JR (Bob)Gowing UK kit 327


 do not archive

 ---
| | - The Matronics Europa-List Email Forum - | | | Use the List Feature Navigator to browse the many List utilities available such as the Email Subscriptions page, Archive Search & Download, 7-Day Browse, Chat, FAQ, Photoshare, and much more:
http://www.matronics.com/Navigator?Europa-List |
|
| Description: |
|
| Filesize: |
609.56 KB |
| Viewed: |
5724 Time(s) |
|
|
|
| Back to top |
|
|
rparigoris
Joined: 24 Nov 2009
Posts: 812
|
| Posted: Mon Jan 18, 2010 9:47 am Post subject: Shoot bolts |
|
|
Hi Graham" I wouldn't do the third bolt, it weakens the bottom rail / sill too much, go with a simple latch.that uses the flexibility of the door to latch. Get a second set of bushes and put those into the fuselage door frame"I put a 3/16" pin on door frame and striker plate on door, simple and works well.:[url=http://www.europaowners.org/forums/gallery2.php?g2_itemId 9082&g2_page=3]http://www.europaowners.org/forums/gallery2.php?g2_itemId 9082&g2_page=3[/url]I left lift strut in original position and installed similar pin and striker to hold upper aft part of door in shape.Ron Parigoris [quote][b]
| | - The Matronics Europa-List Email Forum - | | | Use the List Feature Navigator to browse the many List utilities available such as the Email Subscriptions page, Archive Search & Download, 7-Day Browse, Chat, FAQ, Photoshare, and much more:
http://www.matronics.com/Navigator?Europa-List |
|
|
|
| Back to top |
|
|
budyerly(at)msn.com
Guest
|
| Posted: Tue Jan 19, 2010 5:23 pm Post subject: Shoot bolts |
|
|
<?xml:namespace prefix="v" /><?xml:namespace prefix="o" /><![endif]-->  Phil,

 I have built over 12 sets of doors.  They all work using the current  manual.  In my opinion doors come off because of improper latching or due  to a poor fitting door.  I come from a family of contractors and master  craftsmen.  I had a lot of experience with doors.  No latch will work  until the door fits and operates correctly first.  Here are some of  my techniques for you to consider when following the manual.


 1.  Make the door fit the rebate precisely.  No bows at the  bottom or hard pushes to get them into the rebate.

 As my friend Carl Reichle says "snick".  I do heat the doors and  massage them into shape before doing any fitting of hardware.

 2.  Make everything in the mechanism work flawlessly smooth on the  bench.  It takes time.  Drill the 1/8 inch holes for keying in the  plate.  The holes I do look like the manual and will be cleco alignment  holes later.

 3.  Install the mechanism in the door and relieve the inside  of the door glue until it is in tight.  Even make a dimple for the weld  points.  Make sure the handle is oriented parallel to the door bottom and  all clears.  Draw a line on the door.  (Measure the spot for the hole  for the handle and believe it or not I have always been within 1mm of that  point.) I use clecos to pull the steel up hard and make sure I have plenty of  the 5/8 tube sticking through the door which will allow the outer handle to  clear the glass latter on.  Once it is perfectly aligned, disassemble and  Redux in the plate, install clecos through the 1/8 inch holes in the door and  clean up the face well.  If you are worried about the handle alignment  reinstall it, tweak it in place and allow to cure.

 4.  Make your rods at this time but make them long and only finish the  inner ends of the door bars or rods using either the round stock or flat bar,  your choice.  Personally I make the ends of the round rods with a longer  flat than called for for later trimming.

 5.  Lay the rods on the outside of the door in the latched position  and look how the rods lay on the outside of the door. Bend the rods to the door  shape and bend the ends to be aligned with the door side and handle  mechanism.  Rough cut the holes in the door where the manual says for the  guides but don't glue them yet.

 6.  Install the rods with 525 10R8 bolts instead of roll  pins ( I make a modified 525 10R10 with a button head and shorten the threads to  fit in for the final) and ensure they work flawlessly through their rough holes,  check the rods are bent and they do not rub against the inside of the  door or bind against the mechanism.  The rod ends need to  exit aligned perpendicular to the door and parallel to its bottom. Then  insert the guide and check again.  Hopefully a little of the bar will be  sticking out.

 7.  Set the guides in and check that the door will fit the  rebate with the guide in.  Some doors need a little rebate cut in for  the flange to fit perfectly.  A dremel tool with a 1/2 inch Permagrit  barrel works best for this.  Make sure the alignment is dead square.   If you want, now tack with 5 min or superglue the guide.  When you fit the  door in the rebate, you will see that the door guide in the fuselage needs to be  rebated in to be aligned perfectly level and square with the door guide.

 Important:  Your rod length and door shoot bolt length aren't fixed  yet.  The latch depends on how the door fits.  How tight the distance  is between the door guide and the fuselage guide.


 8. With the door guides tacked in, now put your shoot bolt  on the rod end and mark the end of the rod where the end of the shoot bolt  would be even with the outer end of the guide.  Once this  length is marked, disassemble and lay the shoot bolt against the rod and  figure where to drill the hole to fix the shoot bolt to the  rod.  This method will insure the shoot bolt is extended to the maximum  possible when the latch is in the closed position.  Most of the time I get  1/2 of an inch.  No less than 3/8 please.


 9.  Now reinstall the rod and shoot bolt.  Trim the rod end with  a file until its motion in the guide clears.  How I do this is I  take the rod and shoot bolt assembly and deflect the shoot bolt until the end of  the rod sticks up above the shoot bolt.  I use my burnishing wheel but a  file will take care of the high spot where it will bind.  Then I take  a dremel with a cutoff wheel and grind the ends of the roll pin down until it  all slides through the guide "snick".


 10.  Now crack the guide free and assemble the rods into the door and  glue in the guides in absolutely perpendicular to the ends of the doors and  straight.  Use a straight bar along the door to make sure of  alignment.  Let cure.


 Now I install the door and hinges per the manual using the supplied  items.  If the door ever opens I want it gone without tearing up the  plane.  Check the hinge area in the plane is not thin.  Some planes  only had a couple plies by mistake.  Add only if you can see through the  glass/gelcoat and there is only two layers.  A flashlight is all that's  needed.


 When the door is hinged, then I set my shoot bolt guides per the  manual.  Once the hole in the fuselage is just the size of the bolt, I open  it up for the guide.  I set the distance between the guides by using a thin  AN960 8-16L 1/2 inch washer for clearance between the two guides.  I  operate the door mechanism until alignment is perfect.  Rebate the fuselage  as required.  Yes I have the two shoot bolt guides very close to one  another.  But the door is fit so well that it falls into the small  slot.  It helps when closing the door, because if the door is being bent  during closure, it is obvious if the door hits the shoot bolt guide. But I  do cheat and add redux around the flange to make a smooth transition that is  pleasing to the eye.


 Now when it cures the door handle should thunk by its spring alone to the  fully locked position.  You will have 1/2 inch of guide sticking into the  fuselage.  The only force necessary to close the door will be slight  downward pressure to compress the door seal.


 It takes 40 hours to do nice doors...It's an airplane.  Doors and  canopies are a tough job, but it is the part that gets used over and over.


 I have never had my shirt sleeve pulled, a door bulged or feared one of my  installations.  It just takes time.  I have added microswitches to  contact the door bolts when in the closed position, or made a hole in the  upholstery so one can visually see the bolt installed.  Your choice.


 Hope this didn't put you to sleep or confuse you.  Call if you need  clarification.


 Bud Yerly

 CFC/Europa


 [quote]   ---
| | - The Matronics Europa-List Email Forum - | | | Use the List Feature Navigator to browse the many List utilities available such as the Email Subscriptions page, Archive Search & Download, 7-Day Browse, Chat, FAQ, Photoshare, and much more:
http://www.matronics.com/Navigator?Europa-List |
|
|
|
| Back to top |
|
|
flyingphil2
Joined: 04 Dec 2009
Posts: 117
|
| Posted: Wed Jan 20, 2010 5:51 am Post subject: Re: Shoot bolts |
|
|
Hi,

Thanks for all the replies.  Bud - I'm going to email you.


Cheers,


Phil
| | - The Matronics Europa-List Email Forum - | | | Use the List Feature Navigator to browse the many List utilities available such as the Email Subscriptions page, Archive Search & Download, 7-Day Browse, Chat, FAQ, Photoshare, and much more:
http://www.matronics.com/Navigator?Europa-List |
|
|
|
| Back to top |
|
|
|
|
You cannot post new topics in this forum
You cannot reply to topics in this forum
You cannot edit your posts in this forum
You cannot delete your posts in this forum
You cannot vote in polls in this forum
You cannot attach files in this forum
You can download files in this forum
|
Powered by phpBB © 2001, 2005 phpBB Group
|

